Night photography can transform ordinary scenes into magical works of art. From starry skies to glowing city streets, capturing perfect night photos with your phone is not just possible — it’s easier than ever. Modern smartphones are packed with sensors and computational photography features that make shooting in low light truly remarkable. With a little technique, patience, and understanding of light, anyone can take stunning night shots that look professional and cinematic.
Let’s explore how you can master night photography using any phone — no expensive DSLR needed. These tips are practical, easy to apply, and suitable for all smartphones, whether Android or iPhone.
1. Understand Your Phone’s Night Capabilities
Every phone camera behaves differently in the dark. Before shooting, familiarize yourself with your camera’s night mode or manual settings. Many modern phones — like iPhones, Google Pixels, and Samsung Galaxy devices — come with a built-in Night Mode that automatically adjusts exposure and ISO to brighten low-light scenes. If your phone doesn’t have one, third-party apps like ProCam, Camera FV-5, or Lightroom Mobile can unlock manual control.
Manual control lets you set longer shutter speeds, adjust ISO, and fine-tune white balance. The more control you have, the more creative freedom you’ll enjoy.
2. Keep Your Phone Stable
The biggest challenge in night photography is camera shake. Even the slightest movement can blur your photo when the shutter stays open longer. Always keep your phone stable. You can rest it on a solid surface, lean it against a wall, or use a small tripod for best results. If nothing else, use both hands and tuck your elbows close to your body while shooting.
3. Use Night Mode Wisely
Night Mode uses multiple exposures combined by AI to produce bright, detailed results. However, it’s not magic — it needs stability and the right lighting balance. When using Night Mode, avoid moving subjects, as they might appear ghostly or blurry. Also, try different exposure times to balance brightness and contrast naturally. A slightly darker image often looks more cinematic than one that’s overexposed.
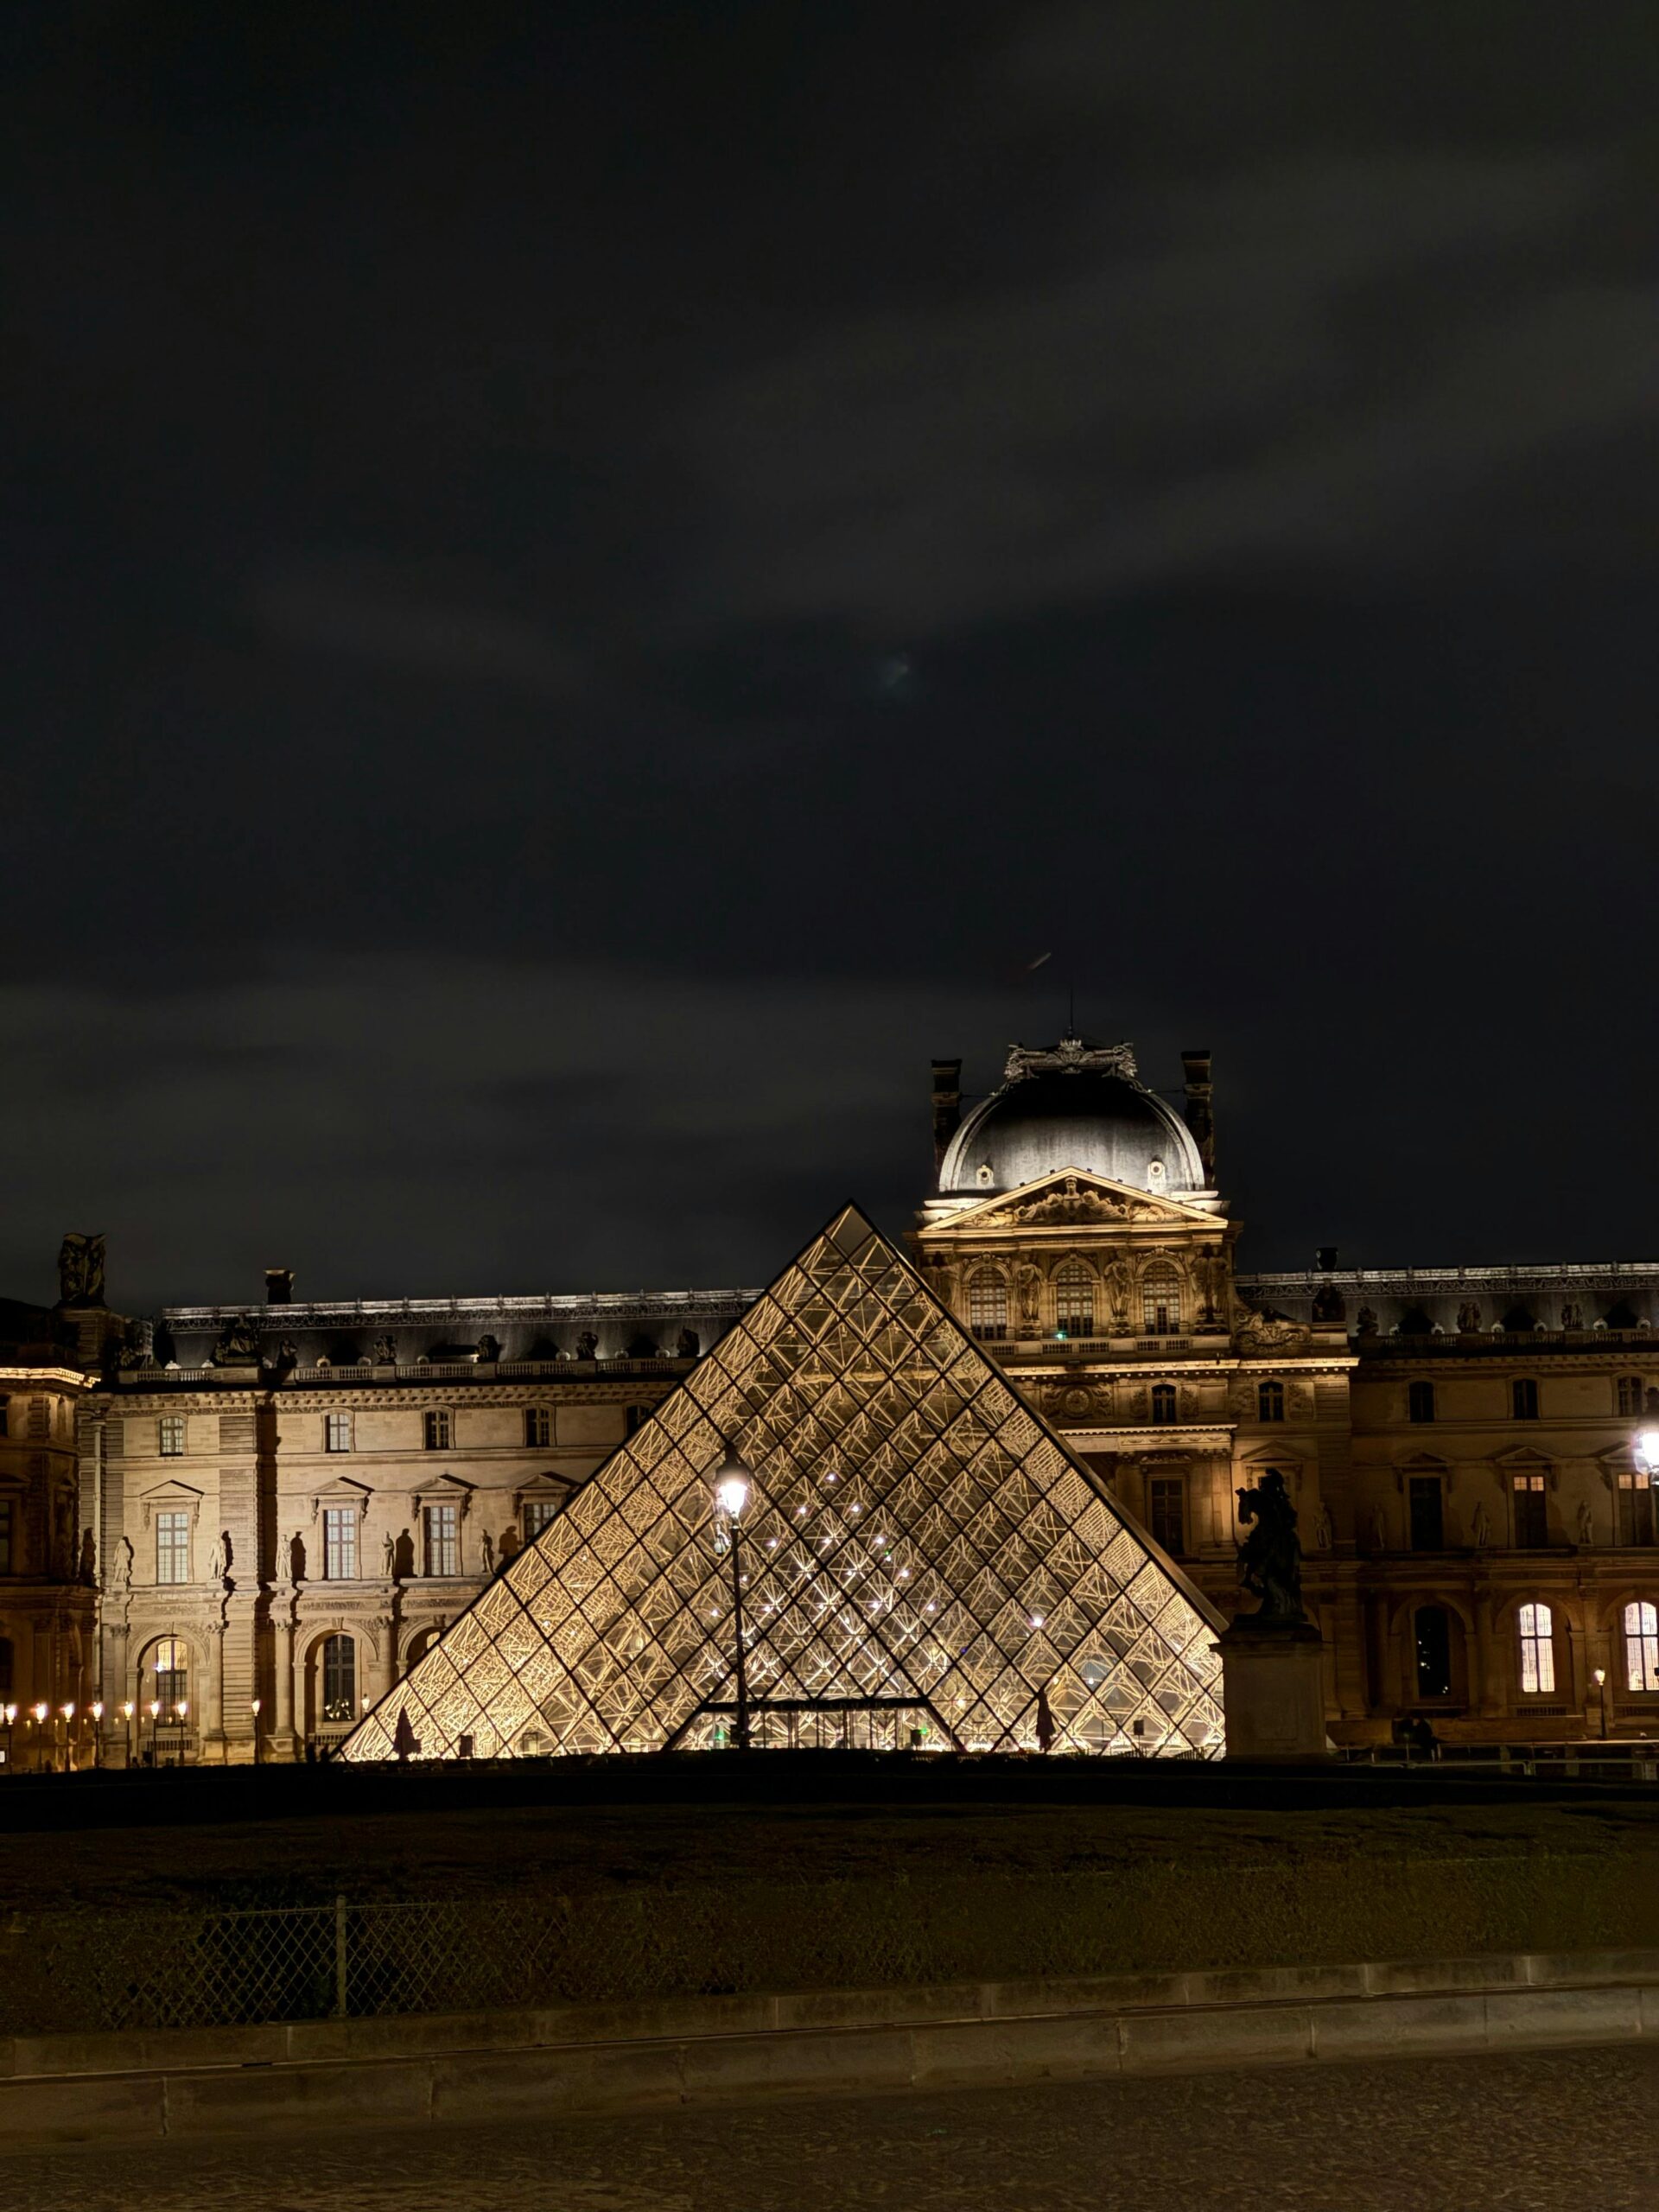
4. Find Light Sources Around You
Light is your paintbrush at night. Look for available light sources like street lamps, store signs, car headlights, or even the moon. Position your subject near or facing these lights. Side lighting or backlighting can create dramatic effects and depth. Avoid harsh direct light on faces — it can create unflattering shadows.
Experiment with creative lighting angles. You can even use your own phone’s flashlight or another device’s screen to softly illuminate the subject.
5. Adjust Exposure Manually
Tap and hold on your subject to lock focus and exposure. Then slide up or down to adjust brightness manually. Avoid overexposure; night photos should preserve the darkness and highlight the mood. The goal is to keep detail in the shadows while ensuring key areas are visible.
6. Control ISO and Shutter Speed
If your phone supports manual controls, adjust ISO and shutter speed manually. A lower ISO (like 100–400) keeps noise low but requires longer exposure — which means your phone must remain still. A higher ISO brightens the image but adds grain. Find a balance between the two.
Shutter speed controls how long your camera captures light. For night shots, use 1–2 seconds for cityscapes or up to 10–15 seconds for stars or light trails. The longer the shutter stays open, the more light enters — but stability becomes even more crucial.
7. Shoot in RAW Format
RAW photos capture far more detail than standard JPEGs. This allows for better editing later without losing quality. Most camera apps like Lightroom Mobile or Open Camera offer RAW mode. If your phone supports it, always shoot in RAW for night photos — it gives you flexibility to adjust brightness, contrast, and color tones afterward.
8. Use Grids and Leading Lines
Composition still matters, even in low light. Turn on the grid lines in your camera settings and apply the rule of thirds. Place the main subject along one of the grid lines or intersections. Leading lines — like roads, fences, or bridges — guide the viewer’s eye naturally into the photo. This makes your night shot more structured and cinematic.
9. Avoid Digital Zoom
Zooming digitally at night causes pixelation and noise. Instead, move closer to your subject physically. If you can’t, crop later while editing — that way you retain more detail. Remember, clarity is more valuable than fake zoom.
10. Experiment with Reflections
After rain or near water surfaces, reflections look magical at night. Wet streets mirror lights beautifully, adding depth and color. Try crouching low to capture both the real and reflected world in one frame. You’ll be surprised at how cinematic these shots can appear even with a phone.
11. Try Long Exposure Effects
Long exposure can turn ordinary night scenes into art — think of glowing car light trails or soft, silky water. Apps like Slow Shutter Cam (iOS) or Camera FV-5 (Android) allow long exposures. Just ensure your phone is steady throughout the capture. These effects give your photos a professional “wow” factor instantly.
12. Use Foreground and Background Layers
To make your night photos feel three-dimensional, include foreground elements — like trees, lamp posts, or silhouettes — in front of your main subject. This layering adds depth and perspective. The human eye loves dimension, and this small detail can turn a simple night photo into a masterpiece.
13. Balance Colors and White Balance
Streetlights can cast strong color tints — orange, blue, or green. Adjust your white balance manually to match the scene’s true tone. A slightly cooler temperature (around 3500K–4500K) works well for night scenes, making them look clean and natural instead of overly warm.
14. Take Multiple Shots
Never rely on one click. Night photography is unpredictable — lights flicker, cars move, or hands shake. Take multiple shots of the same frame with different exposures. Later, choose the sharpest and best-balanced one. Even pros take several tries for a perfect night photo.
15. Enhance in Post-Processing
Editing is where your night photos come alive. Apps like Lightroom Mobile, Snapseed, or VSCO are excellent for enhancing night shots. Increase contrast slightly, adjust highlights, and reduce noise. Avoid over-saturating; subtlety keeps the mood real and cinematic. You can also add a slight vignette to draw attention to the center of your image.
16. Use the Moon as a Natural Element
The moon isn’t just a light source; it’s a subject. Position it within your frame to create mood and scale. Use silhouettes — like buildings or trees — against the moon for artistic results. If your phone supports manual focus, reduce exposure slightly to preserve moon details instead of making it a white blob.
17. Add Human Elements
Including people adds life and scale to night shots. A person walking through light trails or standing near a glowing sign adds emotional depth. Just make sure the person stays still during long exposures to avoid motion blur — unless you’re intentionally creating movement effects.
18. Clean Your Lens
It’s simple but often overlooked. Dust, fingerprints, or mist on your lens can scatter light and cause unwanted flares or haze — especially noticeable in night photos. Wipe your lens gently with a soft microfiber cloth before every shoot.
19. Explore Creative Angles
Change perspectives. Shoot from low angles to make city lights look massive and dramatic, or from rooftops to capture the scale of the city below. Try framing lights through objects like fences, windows, or leaves for a storytelling touch. Night photography rewards those who experiment.
20. Practice, Patience, and Timing
Great night photography takes practice. Lighting conditions constantly change, so timing is key. Arrive early to scout your location, frame your shot, and wait for the perfect moment — when the lights, sky, and motion align. The more you shoot, the more you’ll understand how light behaves at night.
Capturing perfect night photos with your phone isn’t about expensive gear — it’s about observation, timing, and creativity. Every light source tells a story, every shadow adds mystery. With practice and patience, your smartphone can capture the beauty of the night just as powerfully as a professional camera. Step outside, embrace the darkness, and let your creativity illuminate every frame.
Frequently Asked Questions (FAQ)
1. How can I reduce noise in night photos?
Keep ISO low and use a stable surface or tripod to allow longer exposures without increasing grain. You can also use noise reduction tools in editing apps like Lightroom or Snapseed for a cleaner result.
2. What’s the best time for night photography?
The “blue hour” — about 30 minutes after sunset or before sunrise — offers perfect lighting. You get rich sky colors and city lights together for a balanced, cinematic scene.
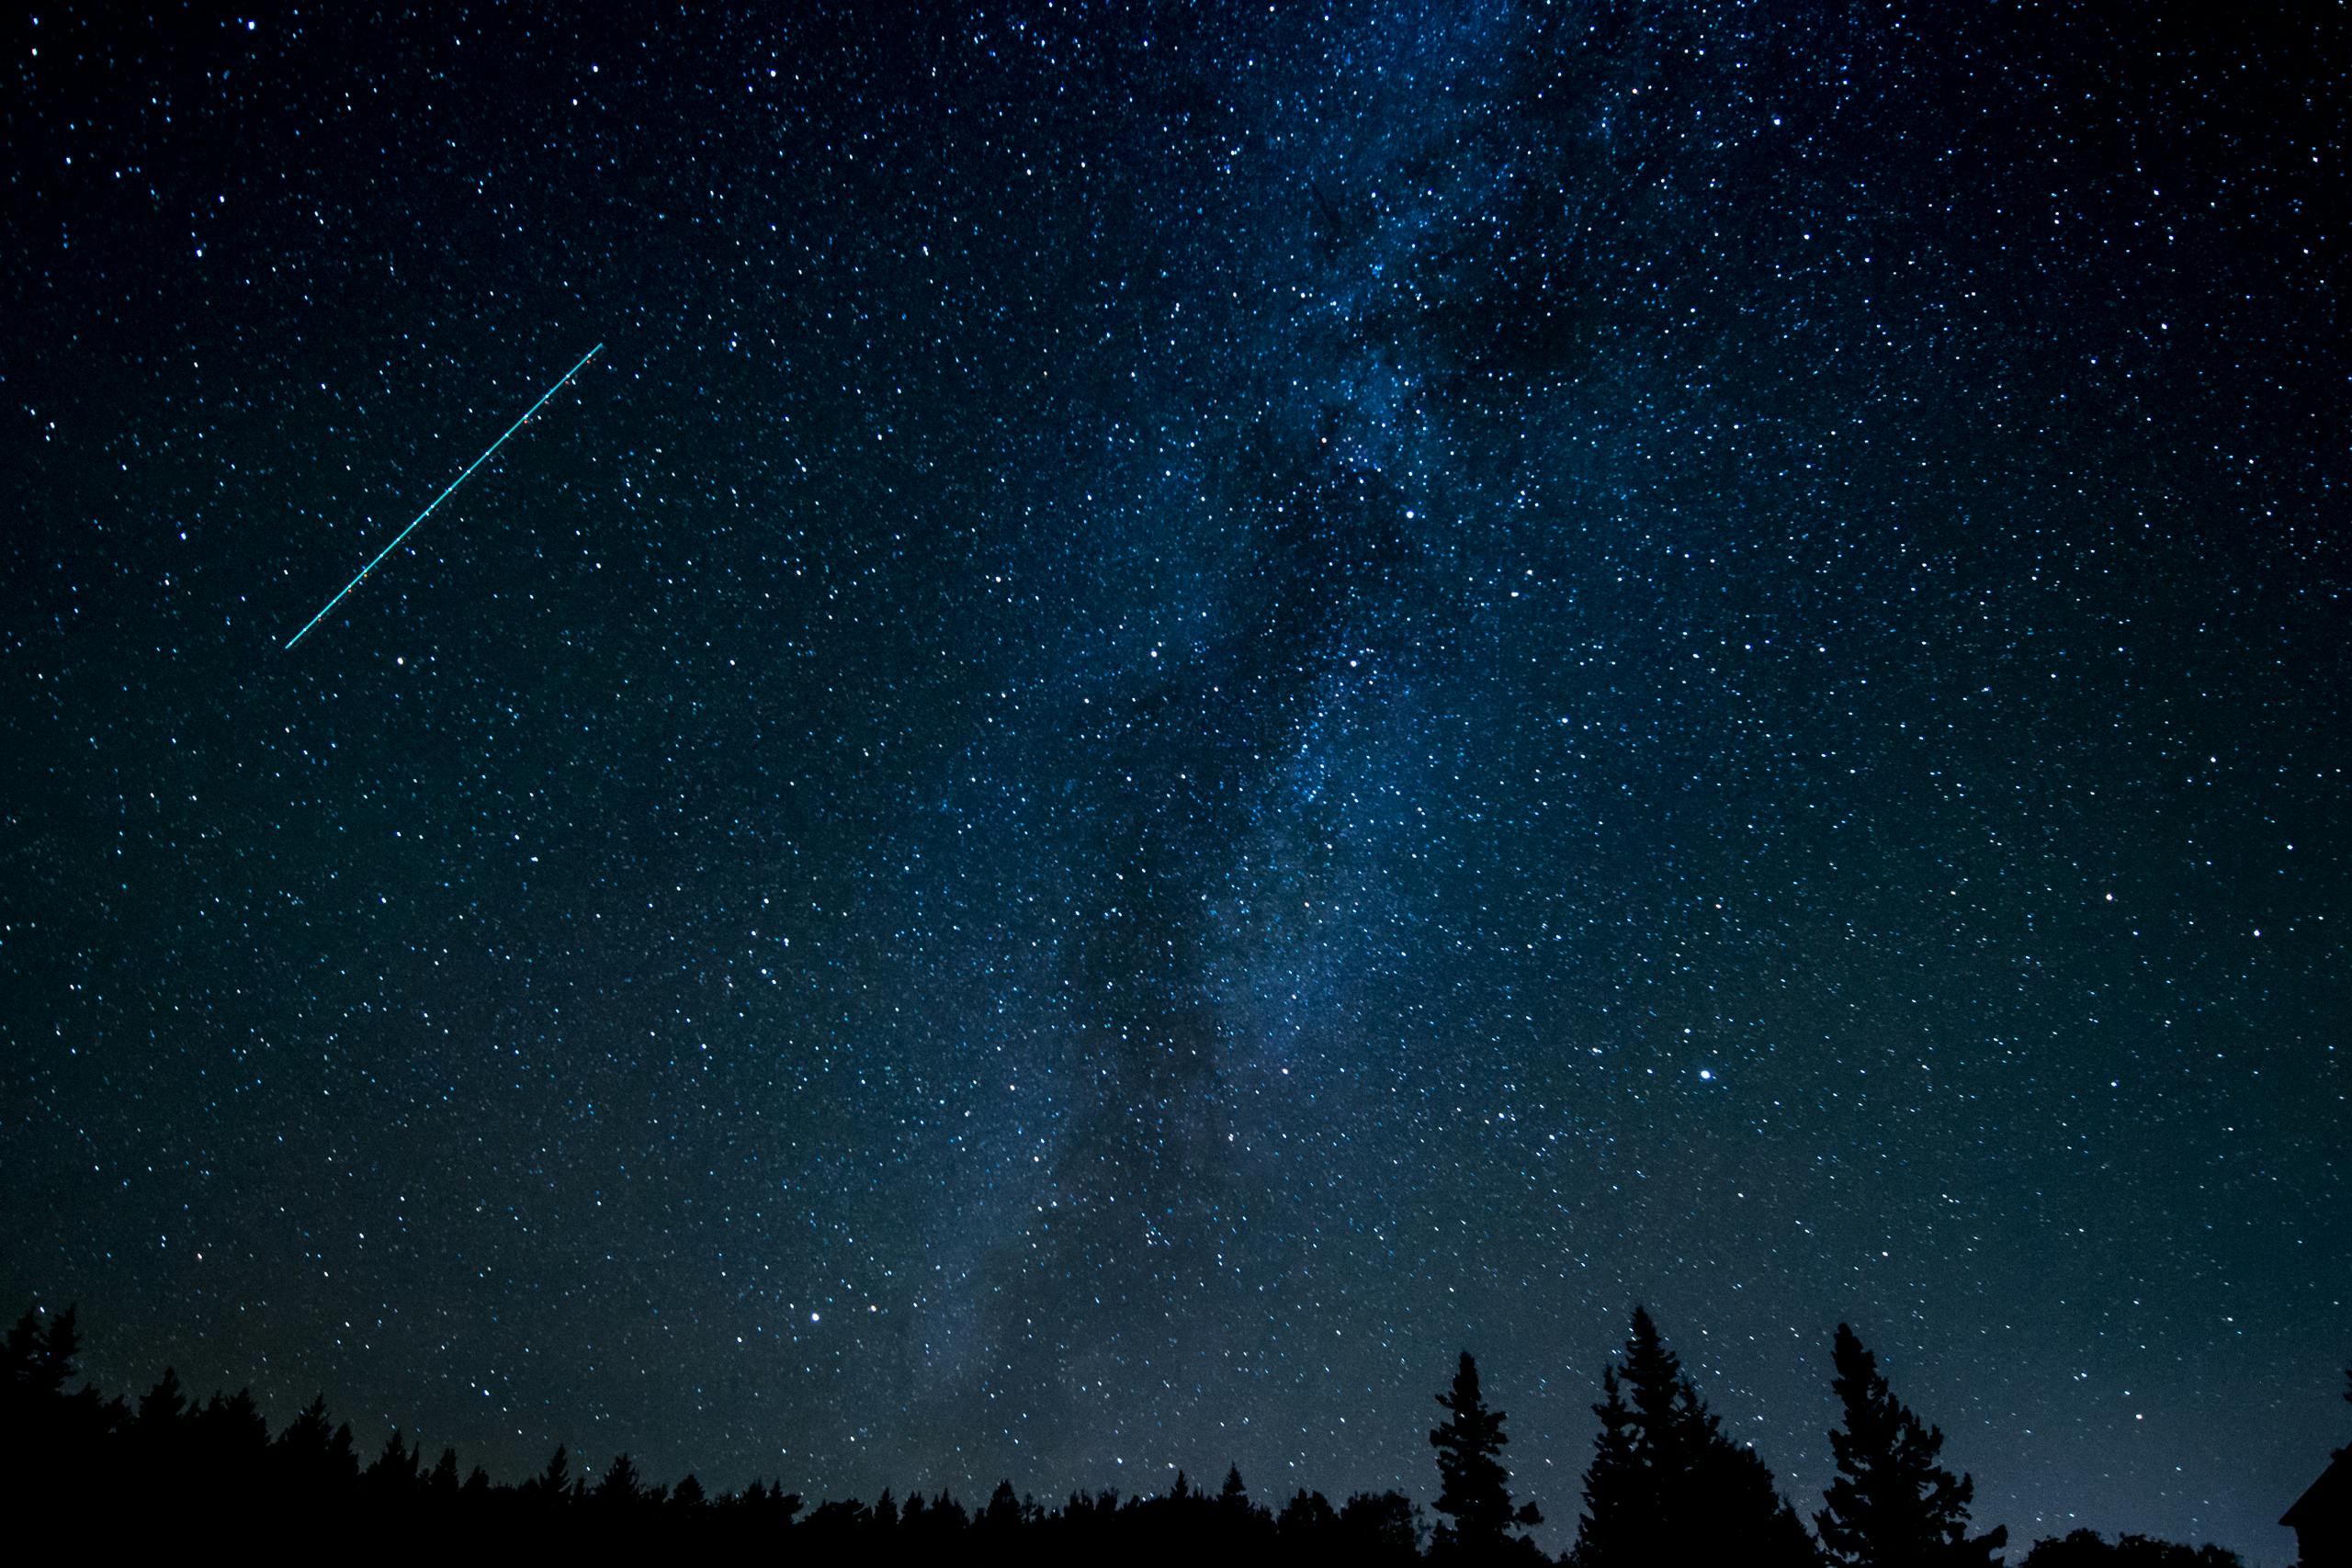
3. How do I capture stars with my phone?
Use manual mode, set shutter speed to 10–20 seconds, ISO around 800–1600, and focus manually to infinity. Place your phone on a tripod and shoot under a clear, dark sky away from city lights.
4. Should I use flash at night?
Avoid direct flash whenever possible — it flattens the scene and kills natural mood. Instead, use nearby light sources or diffused light for softer, more cinematic results.
5. Can I shoot handheld night photos?
Yes, but only in well-lit environments. Hold your phone with both hands, keep your elbows steady, and take multiple shots — one of them will often turn out sharp and well-balanced.