
how to blur background on phone — this complete guide shows step-by-step techniques, camera settings, composition rules, recommended apps, and editing workflows to create DSLR-like bokeh on any smartphone. Read through the setups, use the checklist, and follow the editing recipes for professional results.
How to Blur Background on Phone: Ultimate Guide to DSLR-Like Bokeh (2026)
Mastering how to blur background on phone transforms ordinary photos into professional-looking portraits, product images, and creative stills. This long-form guide (>2500 words) covers everything from optical approaches to synthetic blur, composition, lighting, troubleshooting, and workflow checklists.
Why background blur matters
Background blur (bokeh) isolates the subject, reduces distractions, and increases perceived image quality. It’s essential for portraiture, product photography, and any shot where emphasis on the subject improves storytelling. Learning how to blur background on phone means learning a set of repeatable techniques that work across devices.
Core principles: what creates blur
Four variables determine how blurry the background will be:
- Camera-to-subject distance — move the camera closer to the subject to decrease depth of field.
- Subject-to-background distance — increase it to push the background out of focus.
- Focal length — telephoto compression increases apparent blur.
- Software processing — portrait mode and editing tools simulate larger apertures.
Master these, and you’ll consistently create smooth bokeh with any modern phone.
Practical setups that work every time
Portrait setup — reliable baseline
- Place your subject 3–6 metres from the background.
- Stand 1–2 metres from your subject and use portrait mode or telephoto lens.
- Tap to focus on the eyes; lock exposure if available.
- Take several frames — choose the cleanest one without segmentation artifacts.
Product setup — isolate small objects
- Use the main or macro lens and bring the camera close (10–40 cm depending on phone).
- Keep the background as far away as possible or use a backdrop.
- Use manual focus for precision and RAW capture if you plan to edit heavily.
Environmental portrait — context with blur
- Keep subject 2–4 metres from the background for readable context.
- Introduce foreground elements for layered depth (shoot through leaves or glass).
Portrait mode: best practices
Portrait mode is the easiest route to blur background on phone, but it depends on the phone’s depth detection. Use these rules to minimize mistakes:
- Shoot in good light — algorithms perform much better with clear contrast.
- Avoid complex, busy backgrounds when possible.
- Capture a backup in normal mode for manual fixes later.
- Use the post-capture blur slider conservatively.
When to choose telephoto vs wide lens
If your device has a telephoto lens, prioritize it for portraits: the optical compression produces smoother, more natural bokeh. Use the main wide lens for environmental shots where context matters.
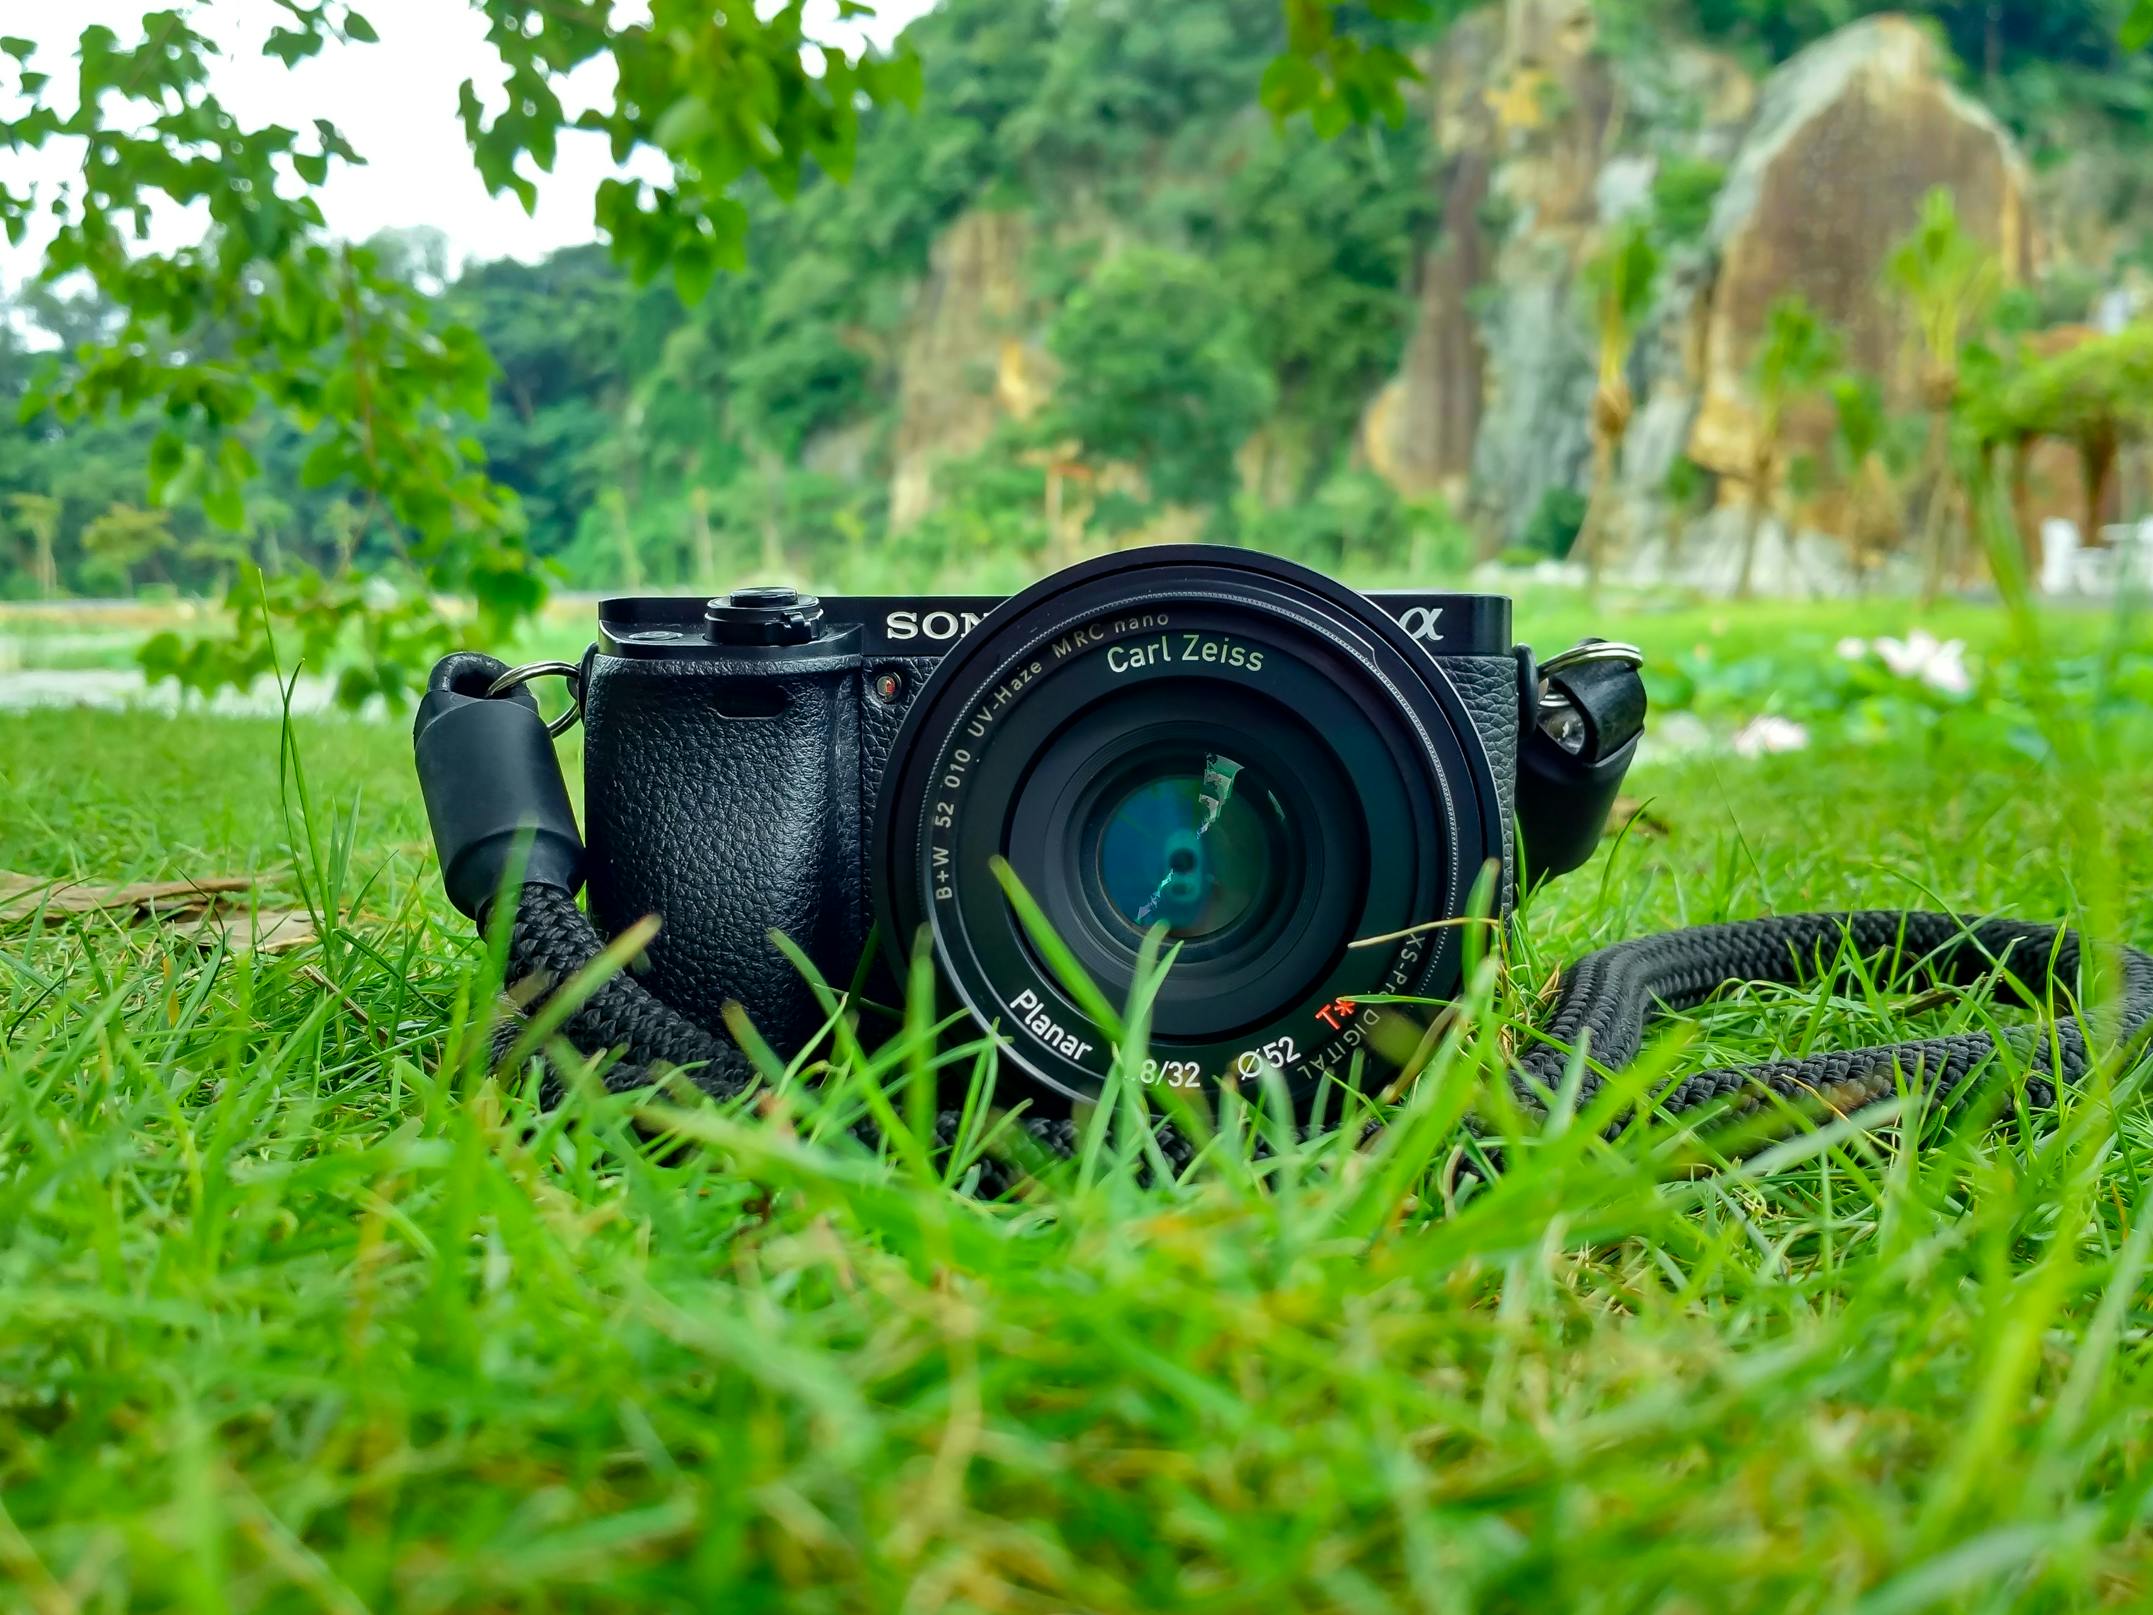
Manual apps and settings for pro control
Manual camera apps (Halide, ProCam, Camera FV-5) unlock focus, RAW, and focus peaking. These features help you place the plane of focus precisely and preserve detail for editing.
- Manual focus: lock exactly on the eyes or subject plane.
- RAW capture: keeps more tonal data for selective sharpening and noise control.
- Focus peaking: visually confirms sharp areas when focusing manually.
Composition rules that amplify blur
Good composition lets the blur support the subject rather than distract from it.
- Rule of thirds: place the subject off-center for natural balance.
- Foreground framing: shoot through leaves or translucent materials to add layered blur.
- Negative space: give the subject room to breathe so the blur can do its job.
Lighting strategies for better separation
Lighting creates perceived depth. If the subject is lit differently than the background, they will pop more against a soft blur.
- Use soft side/front light on the subject and keep the background slightly shaded.
- Backlight for rim light — this bright edge helps separation even with modest blur.
- Shoot during golden hour to get warm bokeh highlights.
Editing workflows: refine without overdoing it
Editing should enhance, not replace, optical capture. Use masking and gentle blur to avoid halos and unnatural falloff.
Step-by-step editing (Snapseed / Lightroom Mobile)
- Duplicate the original image (work non-destructively).
- Select the subject using auto-mask or brush tools.
- Invert the mask to target the background only.
- Apply a subtle blur (start small — 10–25%).
- Apply noise reduction to the background if needed and sharpen the subject selectively.
- Add a mild vignette to direct attention toward the subject.
Creative techniques and pro tricks
- Layered bokeh: place lights at different distances to create multiple rings of blur.
- Foreground blur: shoot through colored glass or fabric for creative foreground bokeh shapes.
- Motion blur + depth: slowly move the camera during burst for dreamy frames — use sparingly.
Troubleshooting common issues
Problem: portrait mode cuts out hair or glasses
Solution: take a backup shot in normal mode and composite hair details in an editor, or refine the mask manually.
Problem: blur looks plastic/artificial
Solution: reduce blur strength, add subtle grain/noise to the background so it matches subject noise level, and avoid uniform Gaussian blur — lens blur with a natural falloff looks better.
Problem: subject is soft/not sharp
Solution: tap to focus on the eyes, improve light to allow a faster shutter speed, or use a tripod for static subjects.
Quick checklists & repeatable setups
One-minute portrait checklist
- Clean the lens
- Position subject 3–6m from background
- Stand 1–2m from subject
- Use portrait mode or tele lens; tap to focus on eyes
- Lock exposure and take burst frames
Product photo checklist
- Keep product far from background
- Use manual focus and shoot RAW
- Use soft lighting and remove background distractions
Examples: real-world use-cases
Headshot for LinkedIn: use tele lens, subject 3–4m from background, close camera-to-subject distance, soft front lighting, subtle background blur — gives a clean professional portrait.
Instagram lifestyle post: environmental portrait with readable background but soft blur — keep subject 2–4m from background and include interesting contextual cues.
SEO & sharing tips (small but effective)
When publishing, use descriptive filenames and alt text. . For external resources (dofollow), a reputable reference is helpful:
FAQ — How to Blur Background on Phone
Can I blur the background without portrait mode?
Yes. Increase subject-to-background distance, step closer to your subject, use a telephoto lens if available, and apply selective blur in editing apps like Snapseed or Lightroom Mobile.
Why does portrait mode sometimes look fake?
Poor lighting, complex backgrounds, and fine hair cause depth-map errors. Improve lighting, simplify the background, and capture normal-mode backups for compositing if needed.
Which app gives the most natural blur?
Lightroom Mobile and Snapseed are the best for natural blur because they allow precise masking and subtle blur adjustments. PicsArt provides fast AI tools but may require refinement for professional work.
How do I avoid halos around the subject?
Feather the mask edges, reduce blur intensity, and, if compositing, bring in edge detail from a normal-mode backup to preserve hair and fine texture.
Final checklist before you publish
- Focus Keyword placed exactly at start: how to blur background on phone
- SEO Title & Meta Description set in Rank Math fields (copy the values at top)
- Slug/permalink contains the keyword:
how-to-blur-background-on-phone - Hidden image with alt text present (already included)
- At least one internal and one external dofollow link (already included)